
The following explains how to create a package deployment of classroom.cloud using the Win32App option in Endpoint Manager.
This process uses the INSTALLTYPE=IMAGE command, which sends a blank configuration of the classroom.cloud Student to the device. We strongly recommend using our ADMX templates, which allow you to set the site details. For instructions, see the guide How to apply the classroom.cloud ADMX Templates.
After applying the templates, the classroom.cloud template is available under Computer Configuration > Policies > Administrative Templates. The template is called classroom.cloud.
Within the classroom.cloud template, you can find the relevant classroom.cloud settings for configuring the student device to connect to your organisation. You will need to apply this to your devices. We recommend applying these settings before completing the steps below.
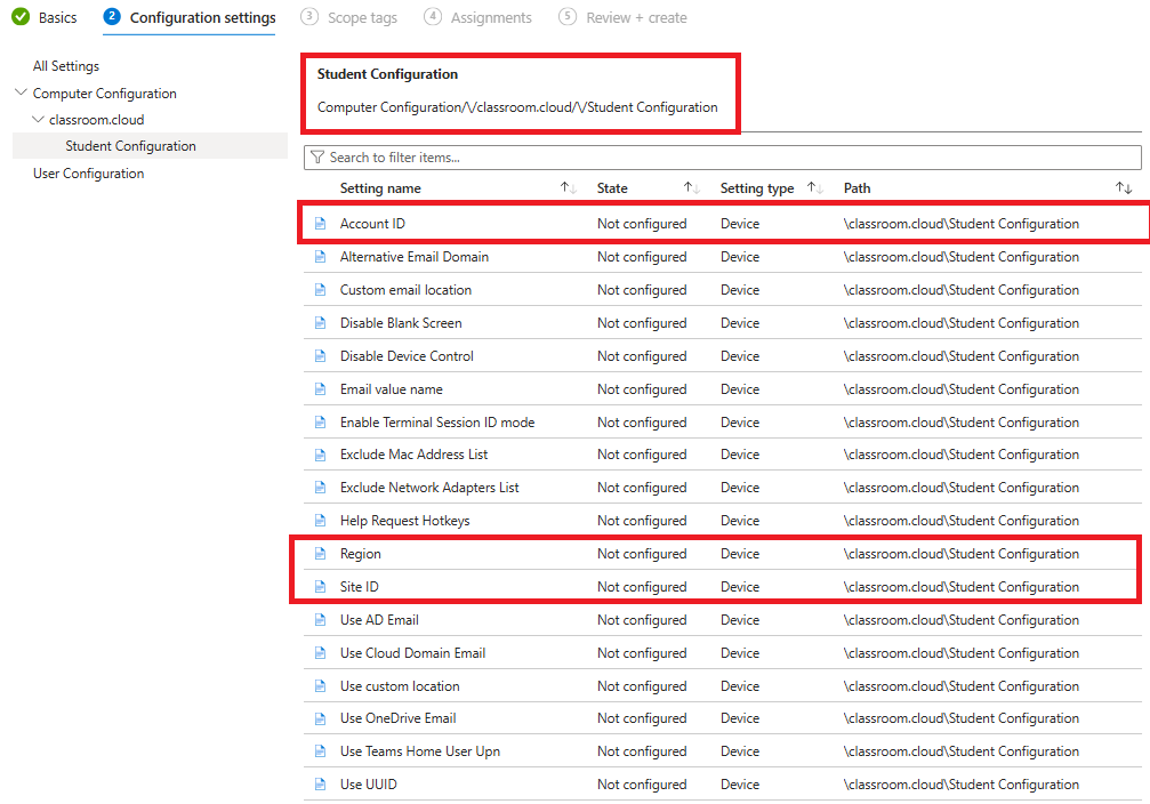
The first section explains how to create the required classroom.cloud package to be uploaded for the Win32 app deployment.
The second section explains how to upload and assign the package to devices via Endpoint Manager to successfully deploy classroom.cloud to your devices.
Creating the IntuneWin file for classroom.cloud
- To create the IntuneWin file for classroom.cloud, download the .msi file from the classroom.cloud Web Portal.
- Once you have downloaded the installer and placed it in a folder, use the Microsoft Win32 Content Prep Tool to create the classroom.cloud.intunewin file.
For details on where to locate this Microsoft tool, please see the following Microsoft article: https://docs.microsoft.com/en-us/mem/intune/apps/apps-win32-prepare - After placing the Microsoft Win32 Content Prep Tool on the machine that can access the folder containing the classroom.cloud installer file, double-click the IntuneWinAppUtil.exe.
- You are prompted to confirm the folder path to the installer, the name of the installer file and the location where you want to write the classroom.cloud.intunewin file to.
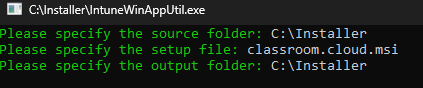
This creates the classroom.cloud.intunewin file in the output folder, ready for upload to Intune.
Create the Win32 app in Endpoint Manager
To upload and assign the classroom.cloud.intunewin file to your chosen devices, follow the steps below:
- Log on to Endpoint Manager.
- Select Apps from the sidebar.

- Choose All Apps.

- Click Add.

- From the Select app type drop-down, select Windows app (Win32).
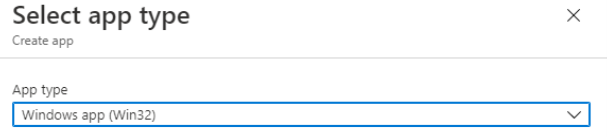
- Click Select.

- In the App information step, click Select a Package.
- Browse to the location of your newly created classroom.cloud.intunewin file.
- Check the package details and click OK.
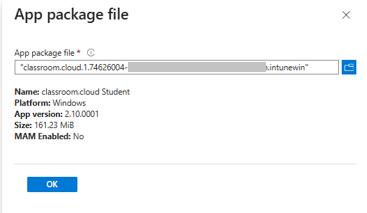
- Complete the App information details and ensure that the following fields are populated:
Name: classroom.cloud Student
Description: classroom.cloud Student (you can edit this to include more information)
Publisher: NetSupport Ltd - Click Next.
- In the Program step, check that the silent install and uninstall strings are correct. These are auto-populated when using the classroom.cloud.msi installer. However, if you used the Setup.exe, you will need to update these fields.
We recommend adding the following to the end of the install command:
INSTALLTYPE=IMAGE
msiexec /i “classroom.cloud.msi” /qn INSTALLTYPE=IMAGE ARP=1
It should look like the following:
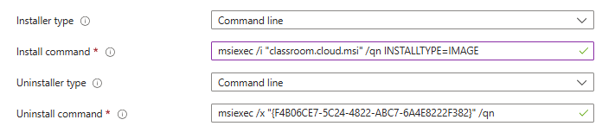
- Click Next.
- In the Requirements step, set the following:
Operating system architecture: 32-bit and 64-bit selected.
Minimum operating system: Windows 10 1607. - Click Next.
- In the Detection rules step, click the Rules format drop-down and choose Manually configure detection rules.
- Click +Add.
- Set Rule type to MSI, and the following example appears:
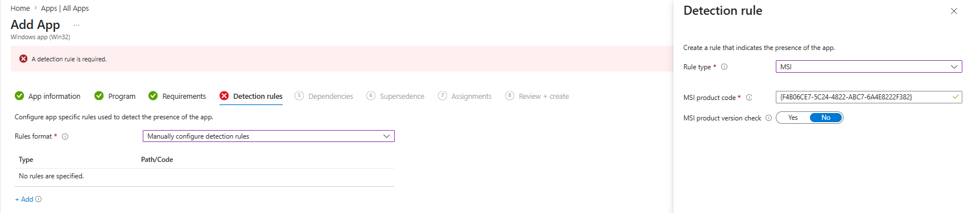
- Ensure you select MSI Product version check, set this to Equals and enter the full classroom.cloud version number.
- Click OK.
- Click Next.
- No dependencies are required, so click Next.
- The Supersedence (Preview) step is only required if you are updating from a previous deployment via Intune.
If you are updating a package, click +Add and select the previous version of classroom.cloud from the list. Click Select. Choose the option not to uninstall the previous version so that an over-the-top upgrade is performed, and then click Next.
If you are not updating, skip this step by clicking Next. - In the Assignments step, assign the package to the device groups you want the installation to apply to.
- Click Next once the device groups have been assigned.
- Review settings and click the Create button.
After the next device sync, the package will be assigned to your devices. To test this, you can access a device that has had the package assigned. Go to Windows Settings > Accounts > Sync your settings. Select your account from the list, choose Info, then choose Sync.